Getting Started
The Okta CLI is the easiest way to get started with Okta!
If you are a Java developer using Apache Maven, also checkout the Okta Maven Plugin.
Installation
macOS via Homebrew
brew install --cask oktadeveloper/tap/okta
To update to a new version:
brew reinstall okta
If you have issues getting the latest version, try untap and brew install again:
brew untap oktadeveloper/tap
Linux via Flatpak
# Add Flathub repo
flatpak remote-add --if-not-exists flathub https://flathub.org/repo/flathub.flatpakrepo

# install the package
flatpak install flathub com.okta.developer.CLI

# add this to your appropriate dot file
alias okta="flatpak run com.okta.developer.CLI"
Linux and macOS
curl https://raw.githubusercontent.com/okta/okta-cli/master/cli/src/main/scripts/install.sh | bash
Windows via Chocolatey
choco install okta
Manual Installation
Download the binary for your OS from the releases page. Manually install it to a directory on your PATH.
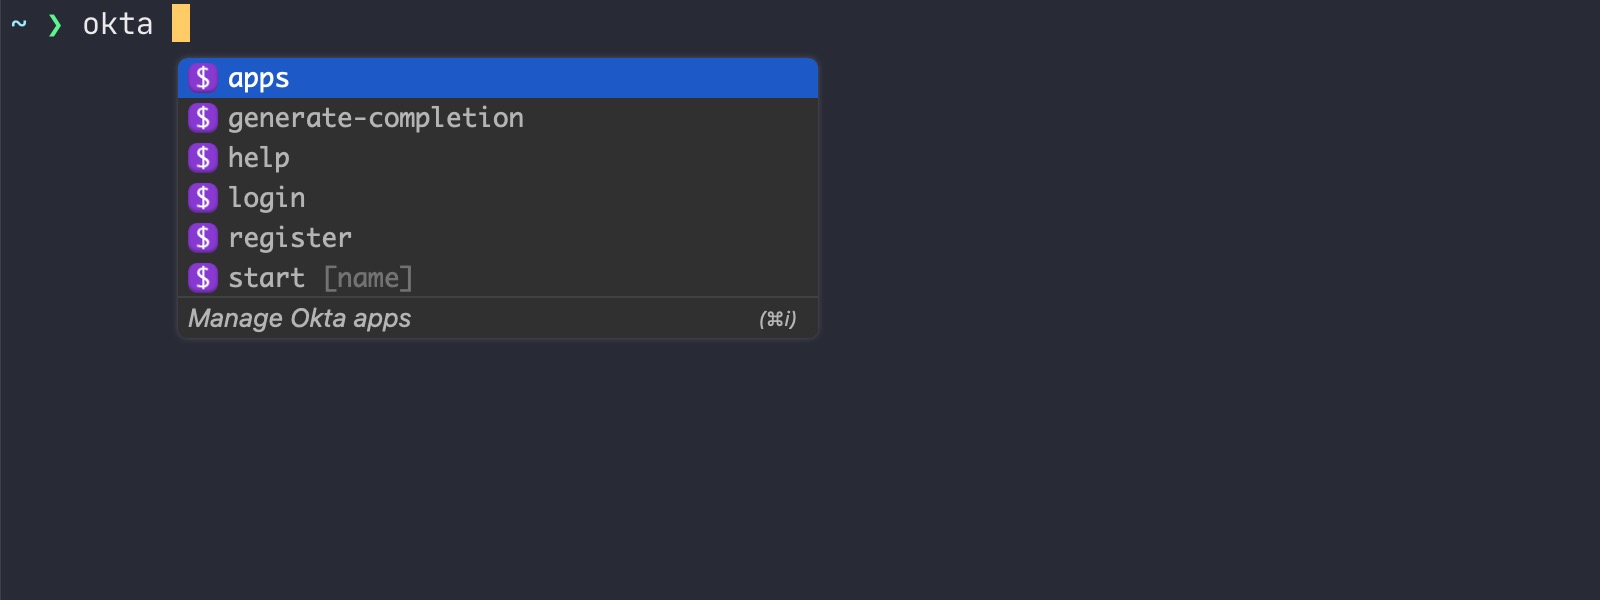
Usage
Run okta --help or okta help <command> for more details.
Sign Up For a Free Okta Developer Account
Run okta register to sign up for a new account. You will be prompted for your name and email address. Account activation information will be emailed to you.
Log Into an Existing Account
Configure the Okta CLI tool with an existing Okta account use okta login and follow the prompts.
Create an Okta Application (OAuth 2.0 / OIDC)
The Okta CLI tool can create Okta OAuth 2.0 / OIDC Applications for you with a few prompts. The following application types are supported:
- Web - Backend applications, Java, .Net, PHP, etc
- Single Page App (SPA) - Browser based applications
- Native App - desktop and mobile applications
- Service - Machine to Machine services
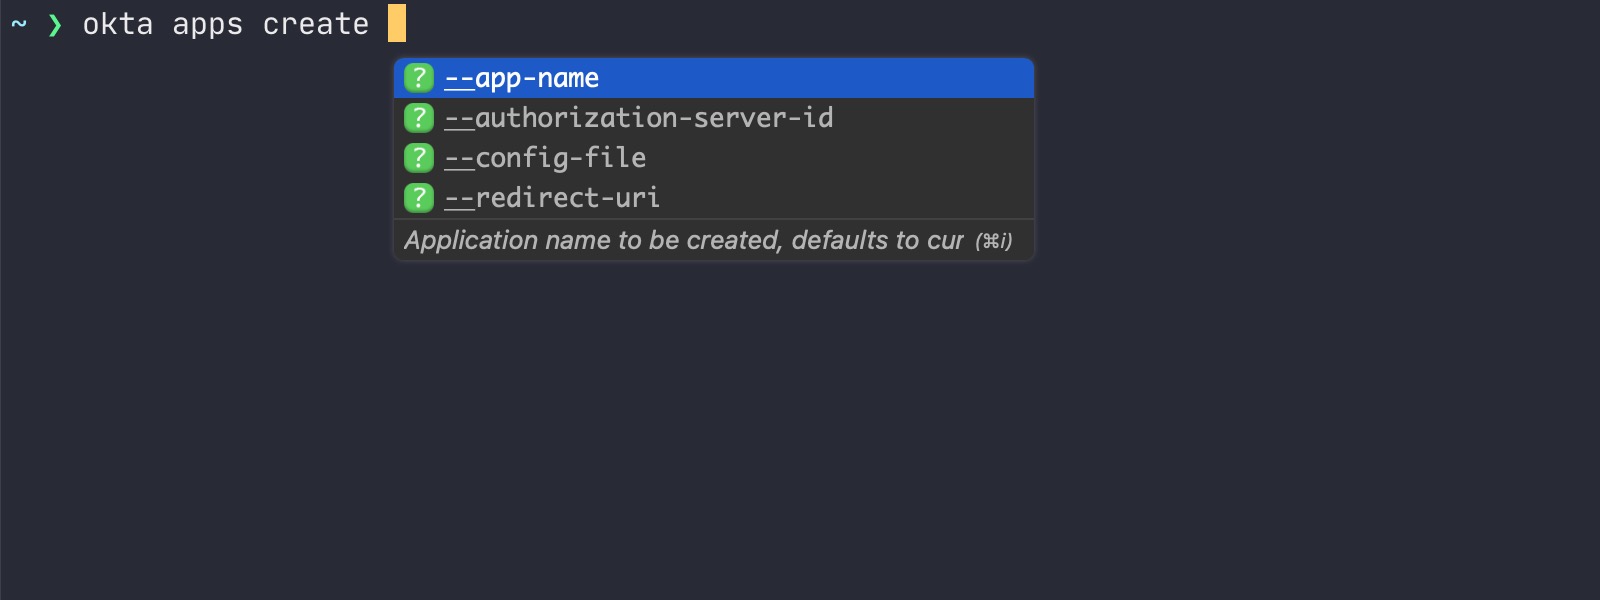
Run okta apps create and you will be prompted for the required information.
Fig terminal autocompletion
Okta CLI command autocompletes in Fig.io terminals. In a terminal that has Fig support, you can autocomplete Okta CLI commands and get inline documentation.
Bash / Zsh Completion
If you have “bash-completion” installed run one of the following commands:
Linux
okta generate-completion > /etc/bash_completion.d/okta
macOS
okta generate-completion > /usr/local/etc/bash_completion.d/okta
If you are not using “bash-completion”, copy the output of okta generate-completion to your desired location, and source the file from your ~/.bash_profile script, for example:
okta generate-completion > ~/okta.bash
echo `. ~/okta.bash` >> ~/.bash_profile
For more details on using bash completion see the Picocli documentation.
Contribute
The easiest way to build the project is to use SDKMAN!
If you have sdkman_auto_env=true in your ~/.sdkman/etc/config, then when you switch to the project folder, the correct
JVM will be selected automatically.
You can also type: sdk env and the correct JVM will be used while in the project folder.
Install Native Image with: gu install native-image
Build with: mvn clean install
NOTE: On IntelliJ (at least), you’ll also need to add in the Lombok plugin to avoid compiler errors on getters and setters for data classes.
You can then run the Okta cli with: ./cli/target/okta